Friday, October 4, 2024

2024-10-04 - Arduino LED light strip project

Arduino LED light strip project


-Installed Arduino ide software
-I had lolin new nidemcu v3 and IT wasn’t recognized by the ide software
-Went to arduino website and find a link for the board and went to file, preferences and added the link to add new board.
-Installed fastLED
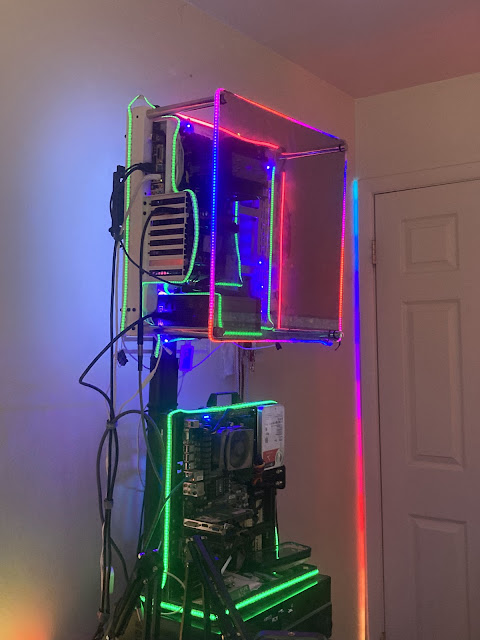
-There are two sections in the code of the main interface of the IDE software, one is the SETUP section and the other is the LOOP section. The SETUP section informs it on how to work, and this is where we enter "int neoPixelPin = " and the pin number being used. NEOPIXEL is how the IDE software will try to communicate with the light strip and not all light strips communicate the same. So the one I bought which is a USB 5 volt 2 amp 6 and a half foot COB ARGB strip from PAUTIX, costs about 20 dollars, comes with a remote, a controller, and can be controlled via Bluetooth through an app on your phone which I have been doing until now with several of these strips attached to my computer case in what sort of suffices until I find a better way to display them which is not terribly tidy. 
-Had trouble getting the ide software and Arduino to talk to each other
-had a lot of problems getting it to work. Soldered the white wire of an led strip i had have to the G pin for ground, the red wire to VU and the green data wire for the strip to the s10 pin. I bought a pine64 digital soldering pencil for this job add has fun playing with this toy Asher Linus tech tips suggested it several years ago. I know what you’re going to say, 40 bucks for a soldering iron? Why? You can get one for like ten bucks or whatever. Everyone in my class said that too but I was sold add I bought it since I want to do tons of led light strip projects and saw myself doing a lot of future soldering. Brought it to class today and Doug, my instructor, was playing with it for like 20 minutes. It can be powered by a12-24 volt barrel Jack as well as USB C and can run off of a power brick. It heats up to temperature in about ten seconds if you use a high enough voltage Abe it has a temperature sensor that displays in the screen what the temperature is at all times and You can watch it heat up really fast. It’s got a bunch of special features too. A boost button, a sleep setting, it’ll turn off after ten minutes automatically or whatever you set it to, it rotates the display whichever way your holding the iron, it’s just very cool. Comes with no replacement tips or a Mount to put the iron on when hot unfortunately and IT’s not the only brand that does this now either. 
-trimester for a while, tried messing with the code, added a line that automatically turns the strip blue when it gets power, we realized the power requirements of the strip might be the issue and So we unplugged it from my laptop that although has all USB 3.2 gen plugs, my laptop only sends 900 milliamps to those ports. So with that code that automatically turns the strip blue when it gets power, we tried plugging it into another computer with no results and Then into my 100 watt pd brick again with no results until we decided to desolder from pin 10 or s3, to pin 5 which is d1. S3 is a standard data pin, and IT’s right next to the ground and VU pins so we thought that would work. But the D1 pin is a standard data pin on the other side of the board. Once we’re soldered that, it worked fine. Obviously don’t forget to change it to pin 5 in the ide software.


#include <Adafruit_NeoPixel.h>


// the data pin for the NeoPixels


int neoPixelPin = 5;


// How many NeoPixels we will be using, charge accordingly

int numPixels = 180;


// Instatiate the NeoPixel from the ibrary

Adafruit_NeoPixel strip = Adafruit_NeoPixel(numPixels, neoPixelPin, NEO_GRB);


// Global RGB values, change to suit your needs

int r = 0;

int g = 0;

int b = 255;


void setup() {

strip.begin(); // initialize the strip

strip.show(); // make sure it is visible

strip.clear(); // Initialize all pixels to 'off'

}


void loop() {

// set the colors for the strip

for( int i = 0; i < numPixels; i++ ){

strip.setPixelColor(i, i, 255 - i, 0);

strip.show();

delay(10);

}

// show all pixels


// wait for a short amount of time -- sometimes a short delay of 5ms will help

// technically we only need to execute this one time, since we aren't changing the colors but we will build on this structure

delay(10);

strip.clear();

}


    Monday - 2024-10-07

    Over this last weekend I was playing with the Arduino IDE strip light software and ran into a few snags. I didn't realize that the USB port I was using was so critical. So I got home from class after not getting much of a chance to experiment with the light strip because we spent the whole class trying to make it work, and only solving it in time before class was over. 

     So I got home and immediately lit up the laptop again and went to continue where I left off before taking a load off for the night and I plugged the board in and got one error after another. It kept telling me that there was a fatal esptool.py error, that it couldn't open COM5, file not found, error none2)esptool.py v3.0. I had been trying this for a while with many attempts so a variety of errors were displayed. 


I played with it on and off for an hour or so, going to Device Manager (this is Win11) to look at ports and tried changing ports in the IDE software under TOOLS/PORT:/ (of which I had 5 selected), and after taking more breaks I finally tried different USB ports. I had no idea it was port specific. Apparently I just glossed right over setting this specific port up to communicate with the Arduino in the first place. And so I had no idea that when it was talking about ports, it meant physical USB ports. For some reason, I had it in my head that there are like logical ports that needed to be switched around for some reason. I must have been going over Firewall ports recently or something. But to be fair, when looking at things like Serial ports and Universal Serial ports in Device Manager, a lot of the time it seems to me to be very logical like in a virtual sense rather than physically literal. I mean you're dealing with drivers and stuff like that. Just go with it, I'm a dummy, whatever! 

    If you set up a strip light and a board to work with the Arduino IDE software, keep in mind which port you're using physically because it needs to keep using that port in the software unless you change the port. I did make the mistake of changing the port to port 2 and 3 and 4 before changing what physical USB port I was using and this caused a little extra confusion for a few seconds till I realized, oh yeah, I changed it. I was actually lucky that I just happened to plug the board into the correct USB port the second time around and then checked the ports after a few minutes and saw that port 5, which had disappeared since I had left class, had no reappeared and so I clicked it and pressed the upload button. 


 This has been Truncat3d 00000000111100010100110______________end of line
No comments:

Post a Comment

2025-07-10 - Active Directory 5.0 - Group Policy Foundations: Understanding Domain Admins and User Accounts / Setting up Remote Access

  Why You Use TESTLAB\Administrator Across Multiple Machines — And Why You Need Separate Domain Users When you join a workstation to an Act...